7 Genius Ways to Mix Digital Art Prints with Your Existing Decor
Discover how to style printable wall art and transform your digital art files into stunning, gallery-worthy decor with these 7 genius budget-friendly tips.
Heather Middleton
October 16, 2026
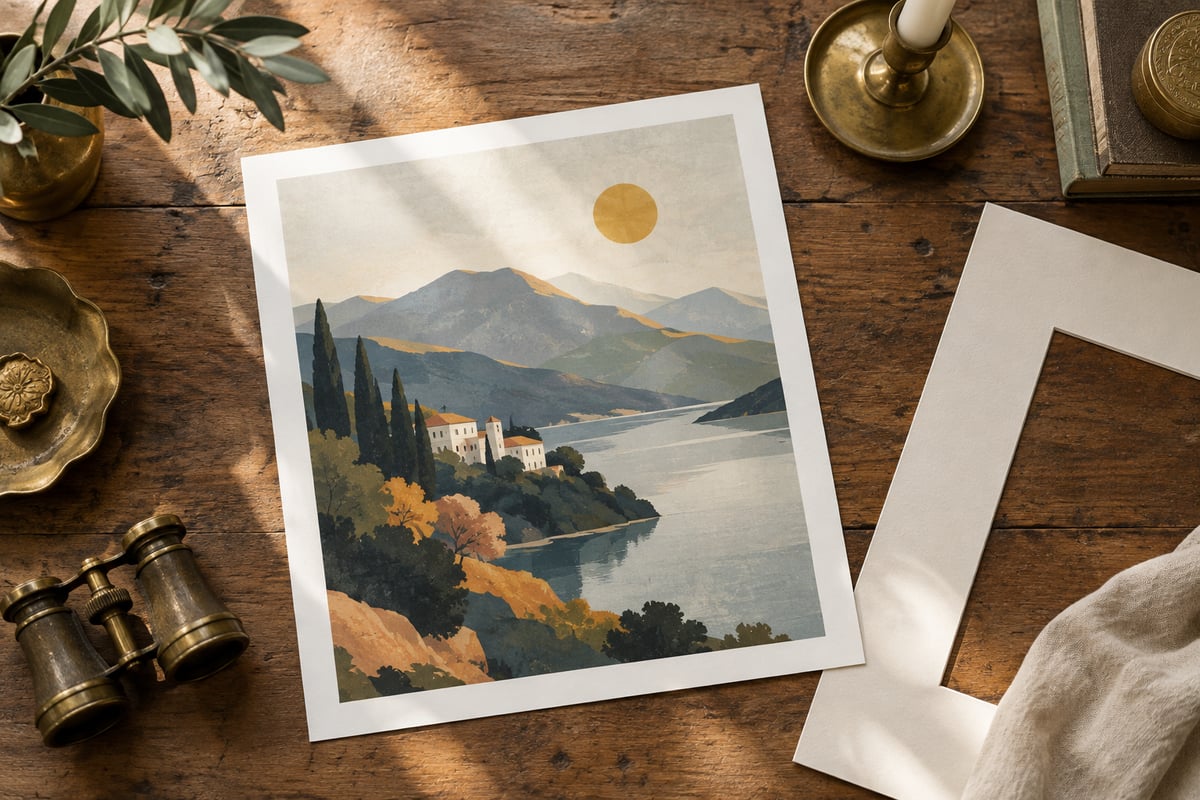
Styling digital art prints offers incredible versatility and cost savings, but navigating the physical transition—from file aspect ratios and print quality to budget frames and cluttered layouts—often stops home decorators in their tracks. At SelfLoveJourney33, we design printable artwork every day, and we know that bridging this physical-digital divide is simpler than it looks. This guide shares practical, budget-friendly strategies to transition your digital files into beautiful physical displays that match your unique personal taste, regardless of passing design trends.
1. Master the Print Quality Formula to Avoid Pixelation
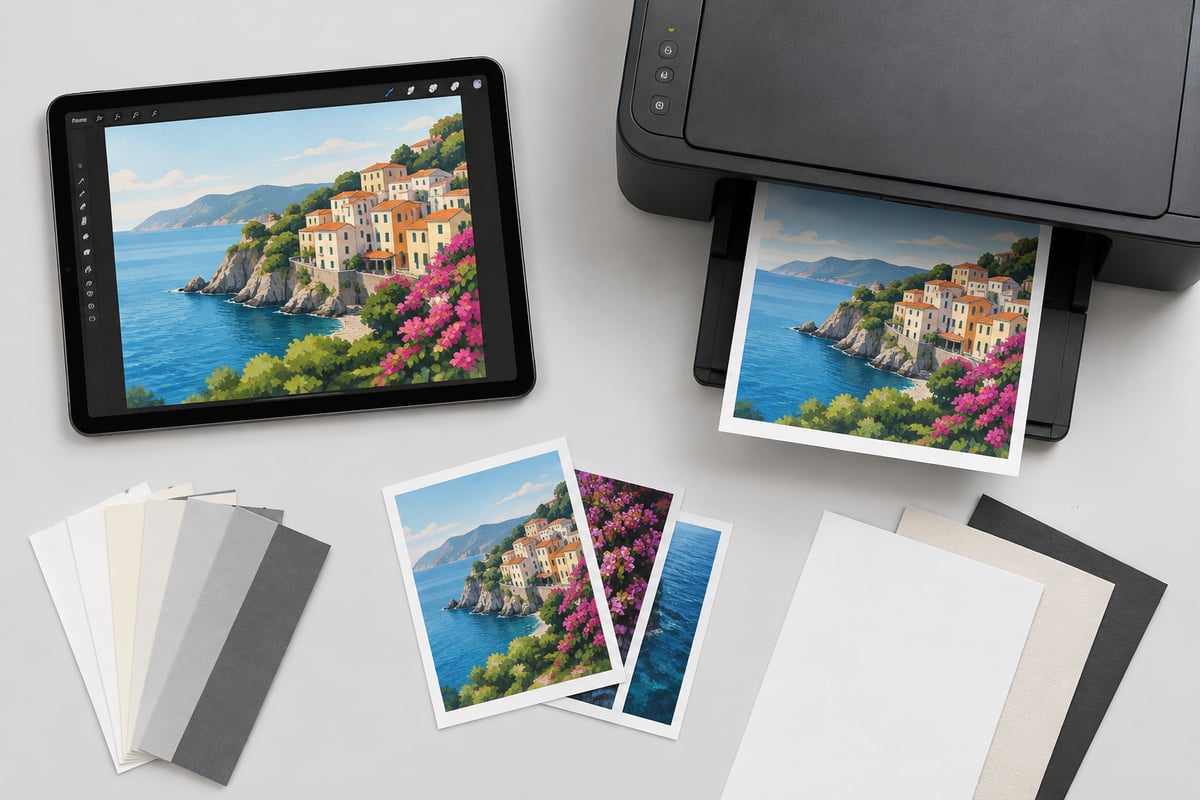
The most common mistake when figuring out how to print digital download art is ignoring resolution. When a digital file is stretched beyond its intended size, it pixelates, leaving you with blurry lines and muddy colors. To get a crisp, professional look, you must understand the relationship between pixels, DPI (dots per inch), and aspect ratios.
The 300 DPI Gold Standard
For a print to look sharp when viewed up close, the file should be saved at 300 DPI. This means that for every inch of physical paper, there are 300 pixels of digital detail.
Before sending a file to print, match its aspect ratio to your desired physical frame size. Printable files are typically delivered in ratio folders:
- 2:3 Ratio: Prints 4x6", 8x12", 12x18", 16x24", 20x30", 24x36"
- 3:4 Ratio: Prints 6x8", 9x12", 12x16", 18x24"
- 4:5 Ratio: Prints 4x5", 8x10", 16x20", 24x30"
- 11:14 Ratio: Prints 11x14"
- ISO (International Standard): Prints A5, A4, A3, A2, A1
| Desired Print Size | Minimum Pixel Resolution (at 300 DPI) | Best Paper Choice |
|---|---|---|
| 8" x 10" | 2400 x 3000 pixels | Heavyweight Matte (230gsm+) |
| 11" x 14" | 3300 x 4200 pixels | Textured Cardstock or Linen |
| 16" x 20" | 4800 x 6000 pixels | Enhanced Archival Matte |
| 24" x 36" | 7200 x 10800 pixels | Fine Art Giclée Paper |
Home Printers vs. Commercial Services: The Honest Trade-offs
While printing at home is convenient, it presents distinct trade-offs. Standard home inkjet printers often use dye-based inks, which can fade over time when exposed to sunlight. They also struggle to handle thick paper weights.
If you are printing neutral digital art prints or highly detailed illustrations, we recommend using a professional local or online printing service.
- Local Print Shops (FedEx, Staples, Walgreens): Quick and budget-friendly. Ask for "heavy cardstock with a matte finish." Avoid gloss, as it creates harsh glare under frame glass.
- Online Giclée Printing (FinerWorks, Printique): These services use pigment-based archival inks and heavy acid-free paper, ensuring your art stays vibrant for decades.
2. Use the Mat Board Secret for High-End, Budget Framing
Buying high-end custom frames can quickly drain your budget, but buying cheap, plastic, off-the-shelf frames often looks unfinished. The solution to achieving a high-end look on a budget is the mat board secret.
A mat board is the cardboard border that surrounds your artwork inside the frame. It does two critical things: it creates breathing room around the art, drawing the eye inward, and it instantly makes a cheap target or thrift store frame look like a custom piece from an upscale gallery.
+------------------------------------+
|             FRAME                  |
|  +------------------------------+  |
|  |          MAT BOARD           |  |
|  |   +-----------------------+  |  |
|  |   |                       |  |  |
|  |   |                       |  |  |
|  |   |       ARTWORK         |  |  |
|  |   |                       |  |  |
|  |   |                       |  |  |
|  |   +-----------------------+  |  |
|  +------------------------------+  |
+------------------------------------+
The Golden Formula for Matting
To get a professional, custom-framed aesthetic:
- Buy a frame one size larger than your print. For example, if you have an 8x10" print, buy an 11x14" frame that includes an 8x10" mat opening.
- Ensure the mat border is at least 1.5 to 3 inches wide on all sides. For large focal prints (like 16x20"), a 3-inch mat border creates a striking, elevated look.
- Opt for off-white or cream mats instead of bright white. Off-white mats soften the visual transition and make the print colors pop.
The Misleading Mockup Scale Issue
When browsing digital art online, keep in mind that many listings display mockups where small prints are digitally scaled to look massive above a giant sofa. Don't guess your dimensions! Grab a roll of painter's tape and map out the exact dimensions of your desired print size on your wall before committing to a print run or purchasing affordable framing for digital prints. This ensures your physical art actually fits your aesthetic room decor rather than feeling swallowed by empty wall space.
3. Blend Niche Digital Art Styles with Antique and Rustic Decor
One of the great joys of digital prints is the ability to experiment with highly niche styles. However, many decorators struggle to integrate these styles into their homes without the space feeling chaotic or mismatched. The key is finding a balance between the physical frame and the digital image.
Mixing Cottagecore and Modern Minimalism
If you love botanical prints, cottagecore landscapes, or celestial witchy designs, you don't have to turn your entire home into an eclectic forest cabin. You can create a compelling visual balance by contrasting the print's style with your framing.
- The Contrast Rule: Pair highly detailed, whimsical, or antique-style digital prints with sleek, thin, modern frames (like black aluminum or light oak).
- The Cohesion Rule: If you are styling ultra-modern, geometric, or abstract digital prints, try framing them in thrifted, ornate, antique gold frames. The contrast between old-world framing and modern imagery adds visual depth.
       [ Sleek, Modern Frame ]          [ Ornate, Antique Frame ]
                 +                                 +
    [ Detailed Cottagecore Print ]      [ Minimalist Abstract Print ]
                 =                                 =
       Balanced Modern Cottage          Elevated Eclectic Statement
This intentional blending allows you to show off your interests while maintaining a cohesive aesthetic. Personalizing your space in this way has tangible benefits. The World Health Organization emphasizes that our physical living environment plays a significant role in our daily mental well-being. Surrounding yourself with visual cues that reflect your identity, rather than just copying fleeting catalog designs, fosters a deeper sense of comfort and belonging at home.
4. Apply the 60-30-10 Color and Texture Rule
To make different styles of art look unified in a single room, interior designers use color and texture formulas. This prevents your prints from clashing with your furniture, paint, or rugs.
When you mix and match wall art, use the 60-30-10 Rule to guide your curation:
- 60% Dominant Room Color: Usually your wall paint, large rugs, or major furniture pieces (e.g., neutrals, soft grays, off-whites).
- 30% Secondary Color: Curtains, accent chairs, and larger accent pieces (e.g., deep forest greens, warm rust, or navy blues).
- 10% Accent Color: Your small decorative items, throw pillows, and the dominant colors within your styled digital prints.
Using Art to Balance Your Space
If your room is highly colorful and eccentric (your 60% and 30% are bold), use neutral digital art prints or a warm minimalist wall art set to ground the space. This prevents visual fatigue and gives the eyes a quiet place to rest.
Conversely, if you live in a neutral, modern rental, you can use digital downloads with rich color palettes—such as gothic-inspired witchy designs, warm botanical illustrations, or colorful typography—as your 10% accent color.
To find high-quality designs across these various styles, you can browse the diverse collection available directly on SelfLoveJourney33, where we design prints with these styling rules in mind.
5. Curate an Everyday Exhibits Gallery Wall Without Clutter
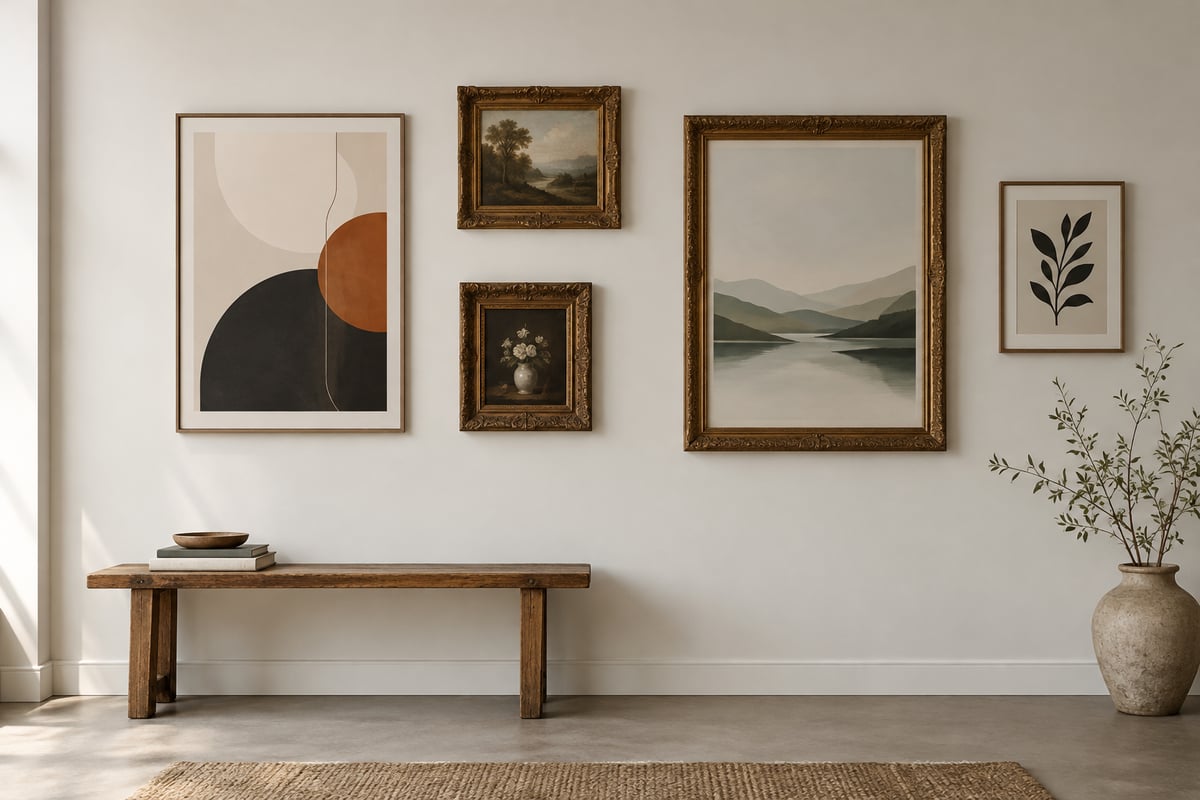
A gallery wall is an excellent way to showcase your personality, but without proper structure, it can quickly look cluttered. To build a balanced, intentional layout, follow a few key design principles.
The Focal Point Strategy
Every successful gallery wall starts with an anchor piece. This should be your largest framed print, placed slightly off-center to create visual interest.
Once your anchor is positioned, arrange smaller prints around it. To avoid a messy look, keep the spacing between your frames absolutely consistent. Use a ruler to ensure exactly 2 to 3 inches of space separates every single frame, regardless of its size.
   +-------------+       +---------+
   |             |       |  9x12"  |
   |   16x20"    |       +---------+
   |  (Anchor)   |
   |             |    <- 2-3" Gap ->
   +-------------+       +---------+
                         |  8x10"  |
   +-------------+       +---------+
   |   11x14"    |
   +-------------+
Keep It Personal, Not Mass-Produced
Don't fall into the trap of buying identical templates just to fill space. A truly inviting home mixes different types of content. On our website, we encourage mixing custom pet portraits, vintage botanicals, and hand-lettered quotes to create a display that feels collected over time.
Quick Prep Template: Planning Your Gallery Wall
- Measure: Measure your total wall surface area.
- Layout: Lay your framed prints flat on the floor in front of the wall.
- Paper Templates: Cut out kraft paper templates matching the sizes of your frames.
- Tape: Tape the paper templates to the wall using painter's tape, adjusting them until the spacing is uniform.
- Hang: Hammer your nails or place your adhesive strips directly through the paper templates, then tear the paper away.
6. Utilize No-Drill Renter Solutions for Damage-Free Hanging
If you live in a rental or prefer not to damage your walls, you might feel limited in your styling options. Fortunately, modern damage-free hanging hardware makes it easy to safely display heavy frames.
Best Renter-Friendly Hanging Methods
- Hook-and-Loop Adhesive Strips (e.g., Command Tough Strips): These are the gold standard for framed prints. They lock the frame flat against the wall, preventing it from tilting or hanging crookedly. Always check the weight limit on the package and apply them to clean, dry walls.
- Adhesive Utility Hooks: Great for light, framed prints that hang from a wire or a sawtooth hanger.
- Tension Rods and S-Hooks: If you have an unused alcove or shelving unit, you can hang lightweight frames using stylish S-hooks suspended from a sleek tension rod.
The Leaning Art Aesthetic
You don't always need to hang your art. For a modern, warm minimalist wall art look, try leaning your larger frames on surfaces like desks, sideboards, dressers, or shallow picture ledges.
       +------------------------------------+
       |                                    |
       |     [ Framed Print Leaning ]       |
       |            /|                      |
       |           / |                      |
       |          /  |                      |
       |                                    |
  ================================================
                [ Console Table ]
This approach allows you to easily swap out your aesthetic room decor as your tastes change, without patching drywall holes.
Creating an orderly, damage-free environment has benefits beyond aesthetics. According to NIH research, living in a cluttered, unorganized, or unfinished space can elevate cortisol (stress) levels. Furthermore, keeping your walls intact and utilizing safe mounting methods aligns with CDC guidelines for maintaining healthy and safe indoor living environments. A serene, securely styled room directly contributes to your peace of mind.
7. Curate Digital Art Prints as Thoughtful, Personalized Gifts
Digital prints are incredibly versatile and make excellent, highly tailored gifts. Because you purchase the digital file, you can customize the final product to perfectly match the recipient's personality, hobbies, or home decor.
How to Match the Print to the Person
To create a meaningful gift, skip generic designs and lean into their specific interests:
- For the Plant Lover: A series of vintage scientific botanical illustrations printed on textured linen paper.
- For the Homebody: Cozy, rustic cottagecore landscapes in warm, earthy tones.
- For the Spiritual Friend: Uplifting, minimalist Christian scripture art framed in soft natural wood.
- For the Quirky Friend: Witty typographical quotes or humorous animal illustrations printed on heavy-weight cardstock.
The Ready-to-Gift Blueprint
To turn a digital file into a high-value physical gift:
- Download the high-resolution file from our collection at SelfLoveJourney33.
- Print the file at a local print shop on a heavy, premium matte paper.
- Purchase an inexpensive frame with a built-in mat board.
- Assemble the print, mat, and frame.
- Add a personal hand-written note on the back of the frame backing before gift wrapping.
This simple process results in a beautiful, thoughtful, and professional-looking gift that costs a fraction of the price of store-bought wall art.
Finding Your Personal Style
Decorating your home should reflect your personal taste and meaningful journey rather than fleeting design trends. While printable art offers incredible flexibility, keep in mind that paper choices, printers, frames, and screen calibrations will all impact the finished physical product. Embrace this process as a fun creative journey.
By mastering your printing settings, utilizing smart framing tricks, and arranging your layouts with structural intent, you can easily turn digital downloads into high-quality home decor.
To browse printable designs tailored for specific aesthetics, hobbies, and gifts, check out the curated listings on our Etsy shop SelfLoveJourney33 today!